There are many things which we can do on our sites to appease the core web vitals May 2021 update. With much of that update relating to site speed, an easy way to speed up our sites is to keep file sizes down. We can get rid of bloated code or minify existing code to make our site run more efficiently for one. But oftentimes the largest files on our sites tend to be images, and typically the images have no need being that large in size. Fortunately there are ways to auto compress images in WordPress which is what I’m going to talk about today.
Auto Compress Images in WordPress
Thankfully, like with everything in WP, there’s a plugin to auto compress images in WordPress.
There are a lot of image compression plugins to choose from.
I use the appropriately named “Smush“. It allows you to both auto compress images in WordPress that are new as well as retroactively compress existing ones.
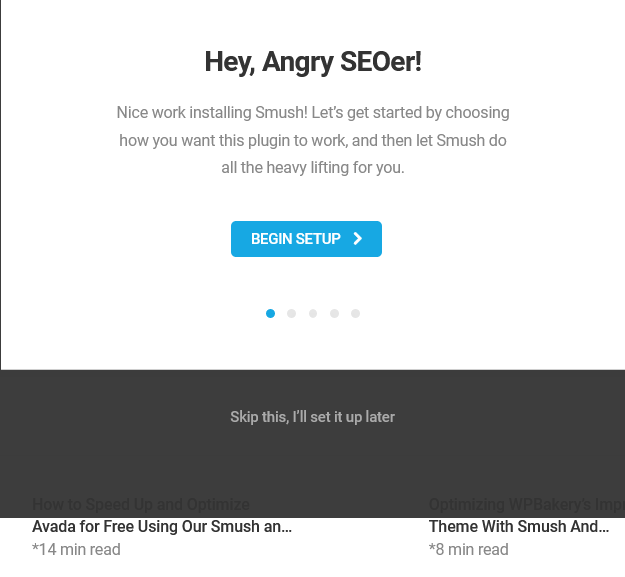
As soon as you install the plugin, it will prompt you to go through a quick setup:
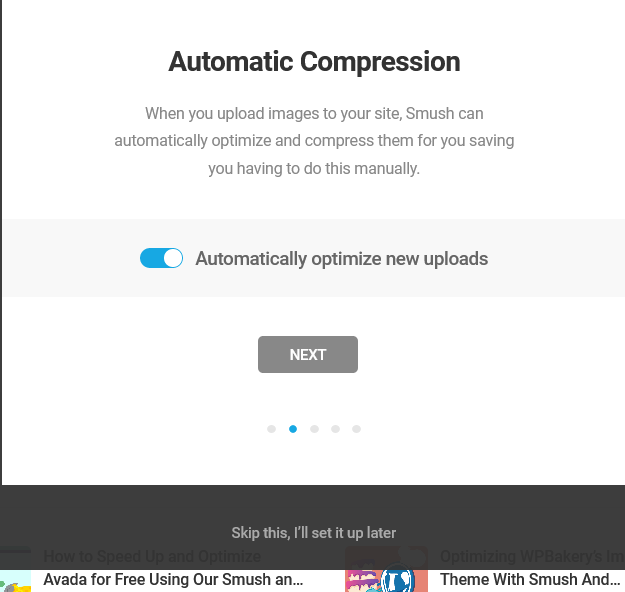
The first step allows you to set it up to auto compress images in WordPress. Simply leave the option ticked to automatically optimize new uploads and it will compress them accordingly with no quality loss:
The next option allows you to strip certain photo images of their EXIF metadata. This data includes photo location, time taken, data, etc. Leaving this option ticked can further reduce sizes without sacrificing any necessary information:

The last option in the setup wizard is to lazy load images:
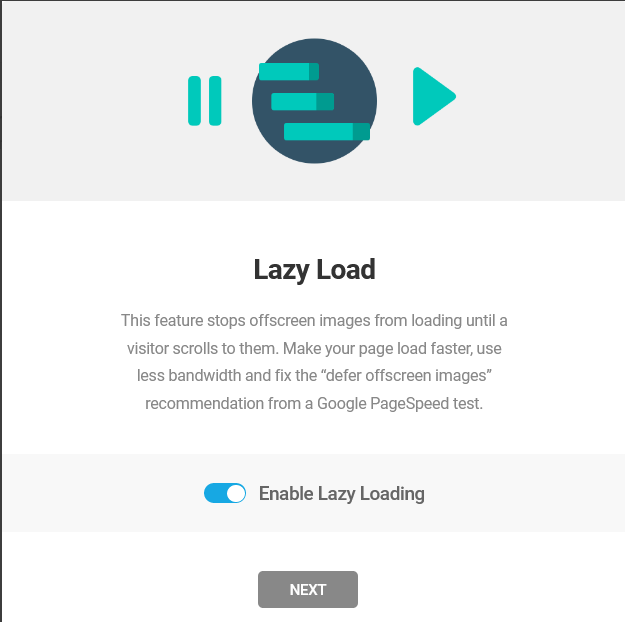
This means loading images only after the rest of the site has loaded. This helps the more important aspects of the site load first and more quickly. It’s a good idea to lazy load images, so leave this ticked.
Keep in mind that if you’re using a caching plugin, it may already be lazy loading your images for you.
Check the settings of any caching or speed plugin(s) you might be using to ensure that only one plugin is lazy loading images for you.
Once setup is completed, the plugin will automatically compress all new images you upload.
It tells you how many existing images you have which need to be compressed, as well. You can bulk compress them with one click:
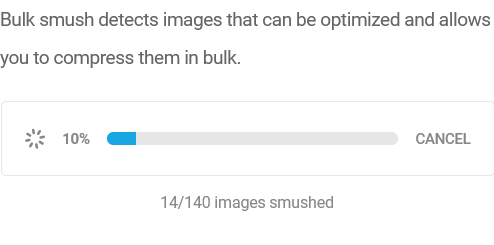
Note that while the free version only lets you compress 50 existing images at a time, all you need to do is click the “resume” button once 50 images have finished for each increment.
Even if you have thousands of images on your site, you just need to routinely click this button after minute or so to finish them all.
You can also pick and choose the images you want to compress if you don’t want to compress them all. You can even pick the specific sizes of images you want to compress.
There’s also a scale down option for scaling down unnecessarily large images.
As you compress your images, the plugin shows how much space you’ve saved:
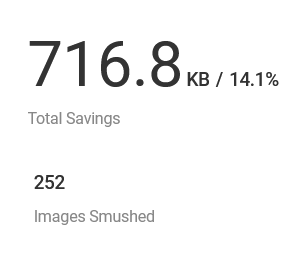
As you add more images, you can return to the plugin page to see how much additional space you’ve saved with the plugin and how many images it has compressed for you.
Again, check out my overview of the vital web core updates of May 2021 for more tips on how to get your site speed and accessibility friendly. It’s important for your visitors, and consequently it helps you rank better in Google.

Pingback: Where to Find Images For Your Blog - 5 Completely Free Sites - Angry SEOer